Custom Mountaineering Shells: Features That Matter
A technical shell earns its place through the way its features work together. For brands developing custom mountaineering shells, the key decisions concern helmet fit, movement over layers, equipment access and weather construction. This buyer guide connects those decisions to a practical sample-review plan.
Start With Your Mountain Shell Brief
Share the activity, target wearer and equipment setup to discuss the right feature package.
Define the Mountaineering Use Case
Develop the shell around mountain movement, changing weather and the equipment worn with it. Define the intended terrain, season, activity level and layering system. A lightweight trekking shell and a robust climbing-oriented shell may need different materials and layouts.
Share the intended pack, gloves, layers and any climbing equipment with the custom mountaineering jacket manufacturer. Separate essential features from optional additions before sampling.
| Priority | Brief detail | Sample check |
|---|---|---|
| Weather coverage | Hood, collar, cuffs and hem | Coverage during movement |
| Active comfort | Laminate, vents and layers | Reach and vent access |
| Equipment fit | Pack belt and pocket map | Access with intended kit |
Use this framework to turn a product concept into observable fit and construction tasks.
Define the Fabric System and Weather Evidence
Choose the laminate alongside the pattern and seam plan. Three-layer construction combines a face textile, barrier and textile backer. Layer count alone does not establish waterproofness, breathability or durability; those properties depend on the actual materials and construction.
Record the fabric reference, mass, relevant performance methods and sample conditioning. Keep initial laboratory results separate from post-care results and whole-garment observations. Our 2.5-layer versus 3-layer shell guide explains the construction choices.
Specify seam-sealing coverage, tape compatibility and closures in the same revision. If a branded membrane is proposed, confirm availability and permission for the programme before adding its name to labels. A generic enquiry does not establish access to a licensed technology.
Develop an Adjustable Mountain Hood
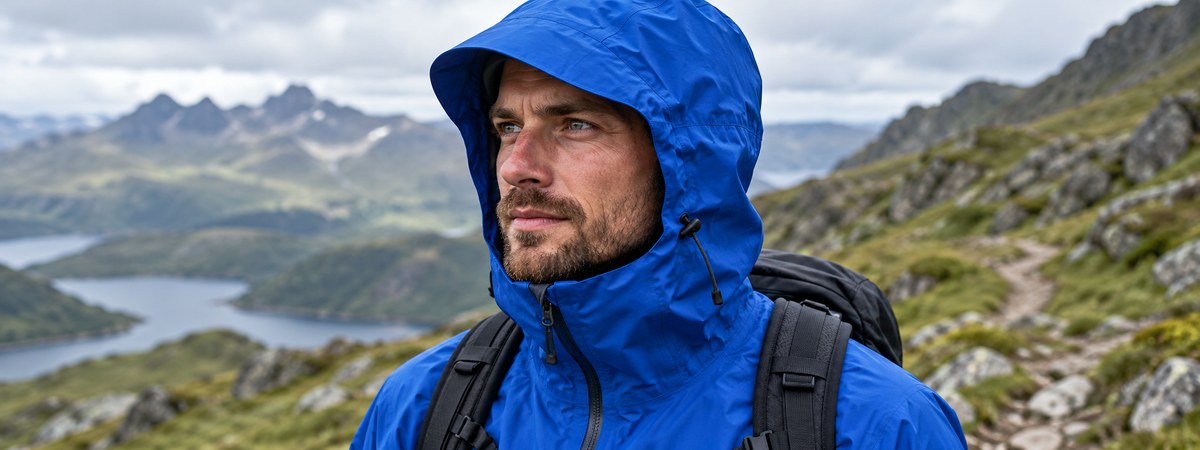
A mountain hood needs controlled volume, useful coverage and a stable opening. Specify whether it will normally cover a bare head, cap or insulating layer. Where the activity requires a climbing helmet, identify its references and sizes for a separate compatibility review.
Check head turning, side visibility, brim position and mouth clearance with the collar closed. Assess adjustment with gloves and comfort with the headwear in the brief.
Draw cord exits and locks, and record the sample setup. Hood volume alone is not approval: the opening should remain positioned when the wearer turns or looks upward.
Set Layering Allowance and Hem Coverage
Define the layers the shell must accommodate, including their thickness and typical combinations. A sample assessed over a thin shirt cannot establish comfort over a winter midlayer.
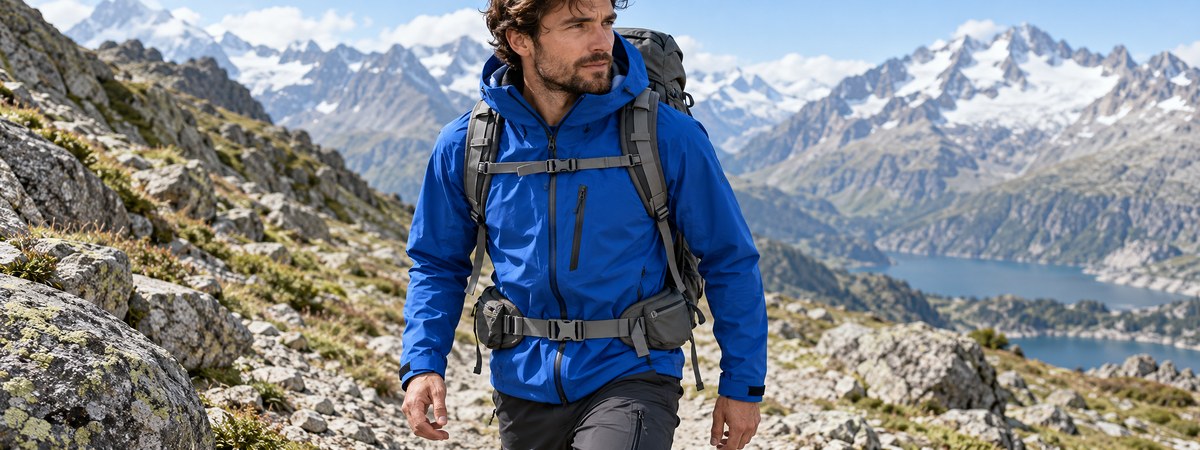
Review the chest, shoulders, sleeves and collar over the intended layers. Check trouser overlap during a high step, forward bend and overhead reach. Record hem length and adjustment range in the measurement sheet.
Assess the lower front beneath the intended pack belt. Excess fabric can bunch under pressure; insufficient length can expose underlying layers. Resolve these issues through pattern and fit changes and document the approved setup.
Engineer Pit Zips for Access and Ventilation
Underarm vents release heat without opening the main front closure. Their value depends on placement, usable opening and operation. A long zipper trapped under a pack strap may be less useful than its flat measurement suggests.
Define zipper length, slider direction, puller size and any mesh backing. Review opening and closing with gloves, the intended pack and layers. Check panel comfort with the arm lowered and twisting with it raised.
Include vent ends, seam junctions and backing in the weather-protection review. Mechanical ventilation does not make every laminate equally comfortable. Material moisture transfer, layering and activity remain separate factors to evaluate.
Build Articulation Into the Pattern
Articulation comes from pattern geometry as well as material stretch. Sleeve shaping, elbow position, armhole construction and underarm gussets can help the garment follow movement. Extra chest width alone can add bulk without solving restricted reach.
Review forward reach, overhead reach, torso rotation and a bent-knee stance over the intended layers. Observe hem lift, cuff retreat, upper-back tension and collar movement. Use the same sequence at each development round.
Agree practical acceptance criteria for the block, including required glove and trouser overlap. Record wearer measurements, sample size and photographs. Check representative sizes before approving grading; a successful medium does not establish that every size moves equally well.
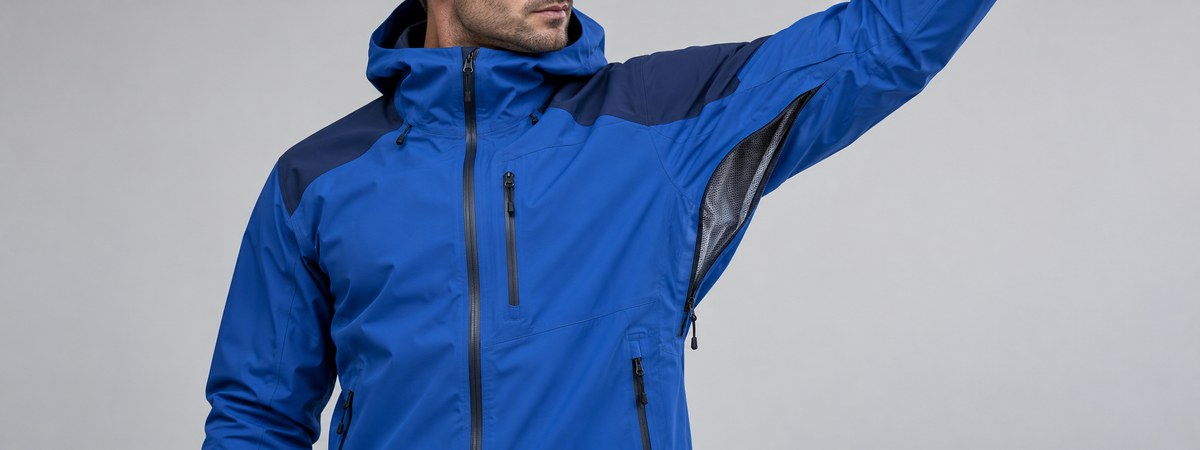
Review Features Before Sampling
Resolve hood, layers, vents and equipment interfaces in one versioned brief.
Place Pockets Around Packs and Harnesses
Map pocket openings against the actual pack belt, shoulder straps or climbing harness used in the fit review. A large pocket can still be difficult to reach if its zipper falls beneath a loaded strap.
Define what each pocket holds, then assess loaded pockets for swing, bulk and interference with movement. Internal storage should not distort the front or create uncomfortable pressure beneath equipment. Keep the storage plan specific to the intended user.
A two-way front zipper may help some access tasks, but review its installation on the complete garment. Shell compatibility describes clothing fit; it does not change how protective equipment must be used under its own manufacturer’s instructions.
Reinforce Wear Points With a Material Map
List expected contact zones before adding reinforcement. Shoulder straps, sleeve contact and lower-body equipment can create different wear patterns. Specify material references, panel boundaries and joining methods rather than writing only “extra durable.”
Rab’s Latok Mountain description gives an industry example: tougher fabrics across shoulders and sleeves address pack-related abrasion. This illustrates targeted reinforcement, rather than providing a transferable performance claim for another jacket.
Evaluate the material and seam layout together. More panels can add bulk and sealing work; stiffer reinforcement can change movement. Denier describes yarn size, not a complete abrasion result. Where durability claims matter, agree methods and evidence for the actual assembly.
Specify Cuffs, Hem and Trims for Gloved Use
Define whether cuffs sit over or under the selected gloves, then assess adjustment range and overlap. Review tab grip, stiffness and the wrist finish. Include hem adjustment and collar comfort in the same movement session.
Identify component references and functions for zippers, snaps and cord locks. Check installed components as well as loose trims. YKK’s AquaGuard guidance distinguishes water repellency from watertightness; use supported terminology for the exact component.
Approve puller shape and length using physical samples and cold-weather gloves. Inspect whether exposed loops or loose ends interfere with the intended kit. Each trim should solve a defined task that the sample can demonstrate.
Add Branding Without Disrupting the Shell
Approve decoration on the chosen laminate before bulk production. Heat transfers, printing, patches and embroidery involve different heat, pressure, stitch holes or adhesive systems. Compatibility cannot be established from a logo mockup alone.
Show artwork size, position, colour reference and application method. Inspect both sides after agreed care and conditioning, including effects on tape and seams. If sewing crosses the protective shell, review that area within the sealing plan.
Use the custom hardshell jacket product range to discuss silhouettes, then create an approval sheet for your branding package. Link artwork, trims and materials to the final sample through the garment production process. Avoid substituting a visually similar trim without reviewing its function.
Plan Sampling Around Decisions, Not Just Days
A 7–15-day sample window is a starting reference, not approval of every development stage. MontForge’s current hardshell page lists this range for some tiers and shorter headline timings elsewhere. Request a project schedule with a clear start point.
Confirm whether timing covers a prototype, revised fit sample or pre-production sample. New fabric sourcing, custom colours, trim development, decoration trials and external testing may have separate dependencies. Agree who signs off each stage and how revisions affect the schedule.
| Approval gate | Review | Record |
|---|---|---|
| Brief and materials | Activity, laminate and sealing | Versioned specification |
| Fit sample | Helmet, layers and equipment access | Measurements and movement photos |
| Construction | Tape junctions, vents and closures | Component references and checks |
| Pre-production | Final materials, artwork and sizing | Approved sample and inspection plan |
Send the mountaineering shell development brief with size range, quantities by colour, price target and dates. Request MOQ and lead time against that version. The waterproofing specification guide can help structure your performance fields.
Frequently Asked Questions
What should a mountaineering shell brief include?
Define activity, season, layers, pack and equipment, then specify fabric, hood, ventilation, pockets and construction targets.
Does every mountain shell need a helmet-compatible hood?
Specify it where the intended activity requires it, identifying climbing helmet references for fit review.
Are pit zips a substitute for breathable fabric?
They provide mechanical ventilation. They do not establish the laminate’s moisture-transfer performance.
How should helmet compatibility be specified?
Identify helmet references and sizes, then assess coverage, turning, visibility and adjustment with those helmets.
Can a technical shell be embroidered?
Discuss position and construction first. Needle holes and compatibility require review within the weather-protection plan.
Is a 7–15-day sample production approved?
Not automatically. Confirm which stage the timing covers and which fit, construction and testing approvals remain.
Ready to Develop Your Mountaineering Shell?
Send technical flats, material targets, feature priorities and colour quantities for a sampling plan and quotation.
Sources
- Rab: Latok Mountain jacket construction — targeted shoulder and sleeve reinforcement.
- YKK: AquaGuard component guidance — zipper terminology and limitations.
- MontForge: custom hardshell manufacturing — sourcing options and published sampling references.
Sources checked 27 October 2026. Brand examples illustrate design approaches; custom programme specifications require their own approval.