A Complete Guide to Sportswear Sampling: From Tech Pack to Approved Sample
A great sportswear collection is won or lost long before bulk production. It is won or lost during sampling—the structured process of turning a tech pack into a physical garment, then refining that garment until it can be reproduced at scale. Sampling is not a quick "make one and approve it" step. It is where fit is validated, materials are tested, construction is proven, and your factory is aligned to your standard. Get sampling right and production becomes predictable; rush it and the problems you avoided simply move downstream into thousands of finished units. Sampling is the process of converting your tech pack into a physical product and refining it until it is ready for production. It answers three questions: does the garment fit correctly, do the materials perform as expected, and can the factory execute this consistently? Treat sampling as a system to build, not a cost to minimize. The stakes are concrete. According to industry research cited by Common Objective (2025), roughly 72% of rejected first samples trace back to incomplete or ambiguous tech packs rather than a manufacturing error. In other words, most sampling failures are communication failures. A structured sampling program—tight tech pack, recorded fit sessions, and clear revision notes—is the single highest-leverage discipline a brand can adopt. Everything starts with the tech pack. A weak tech pack is the single biggest cause of production errors and budget overruns, so the first step is to build a complete one. A robust sportswear tech pack includes: The trade-off is worth it: investing 5–10 hours in a meticulous tech pack can save 20+ hours and thousands of dollars in sample revisions. Statista (2025) data indicates that brands using standardized tech-pack templates cut sample revisions by an average of 1.8 rounds per style—a 4–6 week time saving per collection. A tight tech pack also signals to your factory that you are a serious partner, which often translates into better allocation of sample-room resources. Before the first garment is cut, the factory sources fabric, trims, and components against your spec. This is the moment to confirm that materials match your requirements and to catch proposed substitutions early. Two practices protect you here: Lock in exact trims—zippers, drawcords, labels—by brand, model number, and color code, and physically approve a full trim kit before bulk. Trims seem minor, but they define perceived quality. With the tech pack approved, a pattern maker turns the sketches into a real garment. Digital pattern tools such as Gerber and CLO3D speed refinement and reduce mistakes, but the outcome is still a physical proto sample built to test design viability and fit. Expect the first proto to be imperfect. Its job is to reveal major issues—fit problems, construction inconsistencies, fabric mismatches—not to be final. Review the proto on construction and overall design; do not yet judge minor trim colors or print placement. The Apparel Wiki sampling model places this at the "Pattern Making and Prototype Creation" stage, typically 1–3 weeks, where confirming fit through live model sessions and checking seam allowances prevents poor fit later. The fit session is where a sample becomes a product. Fit the garment on a professional fit model—someone who maintains constant body measurements—not yourself or a friend. Look for drag lines: horizontal lines signal tension (too tight) and vertical folds signal excess fabric (too loose). Verify points of measure against the tech pack before you judge by eye. The most efficient teams replace vague feedback with a traffic-light system: 🟢 Green = spec is perfect, proceed to production; 🟡 Yellow = technically off but within tolerance, keep consistent; 🔴 Red = must fix, stated as a measurable instruction such as "increase thigh width by 1.5 cm at 2 cm below crotch." The rule is to communicate like an engineer, not a critic. Update the tech pack directly with a "Sample 1 Comments" column rather than sending paragraphs of prose. Need a proven template to brief your factory? Request a tech-pack checklist → After the fit corrections, you reach a second or revised sample that matches your design, fits correctly, and uses approved materials. This becomes your reference for production. The strongest programs go one step further and seal a "golden sample": both parties sign and store the final approved piece as the QC benchmark for the entire run. Discipline here pays off measurably. Vistoya's designer data shows that brands completing at least three fit rounds before production see 38% fewer post-launch returns and 22% higher repeat-purchase rates. Customers feel the difference between a garment that fits and one that merely almost fits—and they vote with their wallets. Once the base size is sealed, the factory produces a size set across your full range. This step validates grading—how the pattern scales up and down—and catches fit issues that only appear outside the sample size. Many brands approve a single medium and discover later that XL twists or XS pulls at the chest. A size set turns that risk into a known, corrected variable before bulk cutting begins. Most sampling disasters are predictable, and the same errors appear at every budget level. The biggest root causes: incomplete tech packs, subjective feedback ("make it tighter" instead of a measured change), and fabric surprises from sampling in the wrong material. Manufacturing data suggests around 80% of revisions come from these three variables. Startups average 4–6 revision rounds per style; professional brands average 1–2. Want a sampling partner who gets it right the first time? Talk to our production team → There are times when speed matters—a trade show, a drop, a seasonal window. Rush sampling moves your request to the front of the production queue. Reputable providers charge a percentage upcharge (commonly about 20% for a 5-day rush and 30% for a 3-day rush) and still require the same disciplined inputs: a complete tech pack and pre-sourced materials. Rush does not mean careless. A well-run rush is structure, not chaos. The playbook that delivered 2,000 printed shirts in three days relied on same-hour intake, pre-separated artwork matched to PANTONE® codes, parallel machine scheduling, micro-checkpoints every 50 pieces, and staff rotation to hold quality. The lesson: a 3-day turnaround is achievable precisely because the process is tight—not in spite of it. Use rush sampling for confirmed best-sellers and hard deadlines; use the standard 30–60+ day path (first sample 2–4 weeks, revisions 1–3 rounds, PPS 2–3 weeks) when you are still learning the fit. A typical timeline runs 30–60+ days: first proto sample 2–4 weeks, 1–3 revision rounds (2–6 weeks), and a pre-production sample 2–3 weeks. Complexity, fabric sourcing, and factory responsiveness all move the total. Cut-and-sew apparel usually needs 2–3 rounds; activewear often 3–4 because compression and performance fit demand more iteration. More technical products require more rounds—not fewer. Not recommended. Photos hide defects through lighting and angle. Inspect the physical sample under daylight, measure flat against the tech pack, and fit it on a live model before sign-off. The final approved sample both parties sign and seal. It becomes the QC reference for the entire production run—every bulk piece should match it. Store your copy with the style number and date. Sampling is the foundation of your product, not a step to move through. A complete tech pack, recorded fit sessions, a sealed golden sample, and a validated size set convert a risky launch into a predictable one. The brands that win do not treat sampling as a cost to minimize—they treat it as the phase where problems are solved and production is set up to succeed. Ready to turn your tech pack into an approved sample? Send your inquiry →1. What Is Sportswear Sampling and Why It Decides Your Production Outcome
2. Step 1 — Build a Detailed Tech Pack (Your Manufacturing Blueprint)
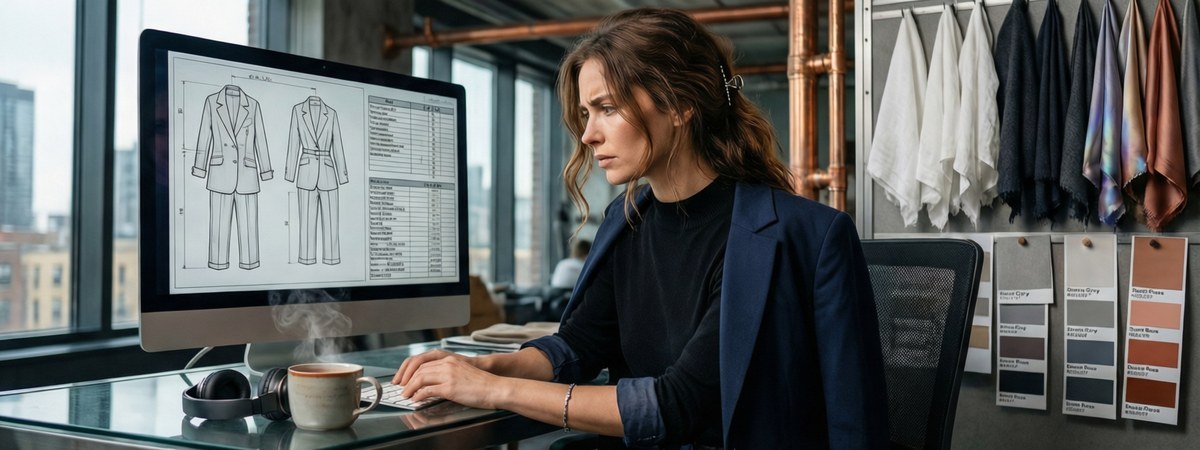
3. Step 2 — Fabric Sourcing and Trim Submission
4. Step 3 — Pattern Making and the First Proto Sample
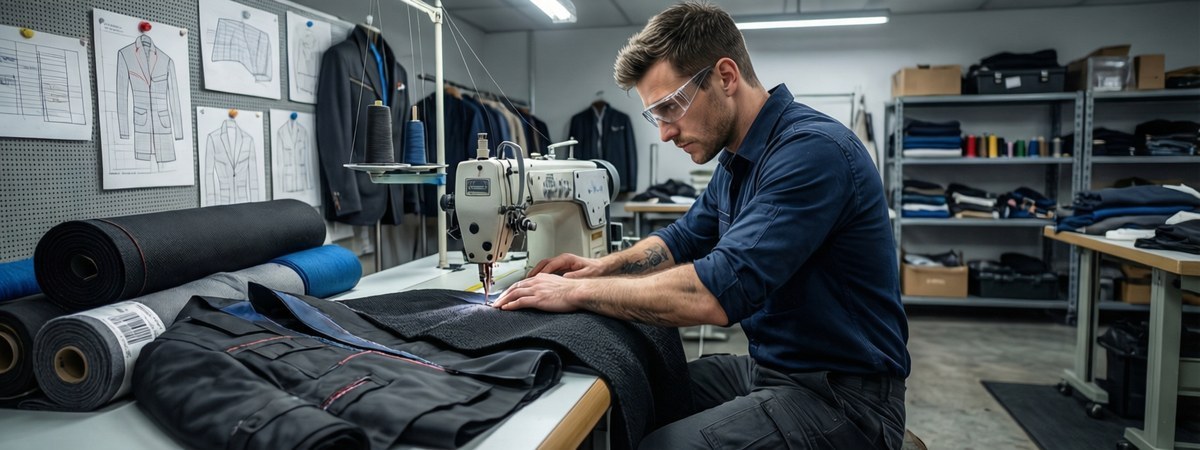
5. Step 4 — The Fit Session and Revision Process
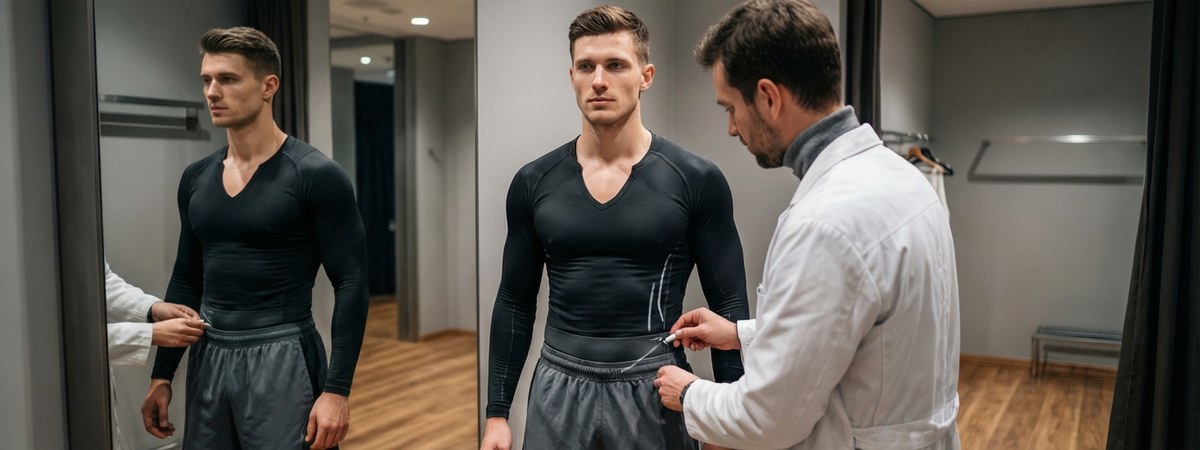
6. Step 5 — Second Sample and Final Approval (the Golden Sample)
7. Step 6 — Size Set and Graded Samples

8. Common Sampling Pitfalls and How to Avoid Them
9. How Fast Sampling (3-Day Rush) Actually Works
10. Frequently Asked Questions
How long does sportswear sampling take?
How many sample rounds are normal?
Can I approve a sample by photo?
What is a golden sample?
Conclusion